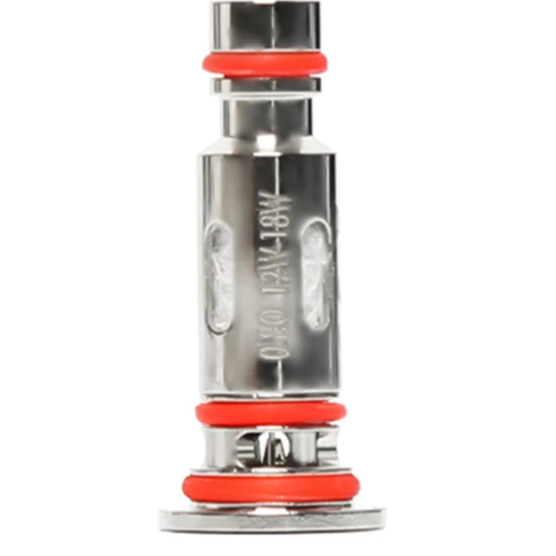
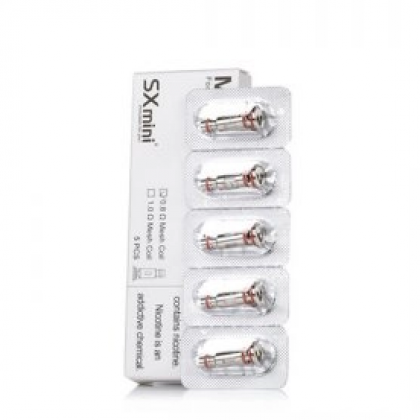
The M1 coils are designed for the MK Pro Pod.
Product Specifications:
M1 Mesh Coil 0.8ohm 12-18W MTL (Launched with the MK Pro Pod) - WATTAGE MODE ONLY
M1 Mesh Coil 1.0ohm 8-14W MTL (Launched with the MK Pro Pod) - WATTAGE MODE ONLY
M1 Mesh Coil 1.2ohm 7-12W MTL (Launched with the MK Pro Pod) - WATTAGE MODE ONLY
Compatibility:
Consult the Atomizers utilizing SXmini M1 Coils at the Atomizers Using The Same Coils Category
Are all of these coils, working with my compatible AIO Pod System?
Consult the Coil Specs per System Categories (Various Parts, you have to struggle a bit!)
How to prime your new coil:
New coils must ALWAYS be fully saturated before FIRST use, otherwise the cotton inside will be burned.
Hold the coil in your hand and drip not just a few drops of e-Liquid but the required amount (Dependent on the coils' size) directly into the top hole. Do this on an angle, so that the cotton on the inner wall absorbs the e-Liquid. Next, start dripping some e-Liquid into the holes on the sides of your coil. There may be 2 or more drops for each hole, and you’ll notice that the e-Liquid is quickly absorbed by the cotton. You’ll want to make sure that you keep dripping into these holes until it stops absorbing it. Install the coil into your atomizer, fill the latter with e-Liquid and take a couple of puffs but with your device off and your airflow open. Don’t inhale too hard. Just inhale as if you’re taking a normal draw. Your coil is fully saturated!
Comment:
Replacement Coils are almost always produced and sold by pack of 5 or pack of 4, of 3 or 2. Sometimes we hear of vendors selling them by the unit - please be aware of this. We do not recommend buying coils by the unit - from a hygiene standpoint - it forces the package to be opened and cut through the sealed packaging. Also when you buy coils by the unit you don't get the scratch-and-check authentication sticker that's on retail box!
There are yet no reviews for this product.
Please log in to write a review. Log in


